Add LED Lights to Your Husky Toolbox Fast
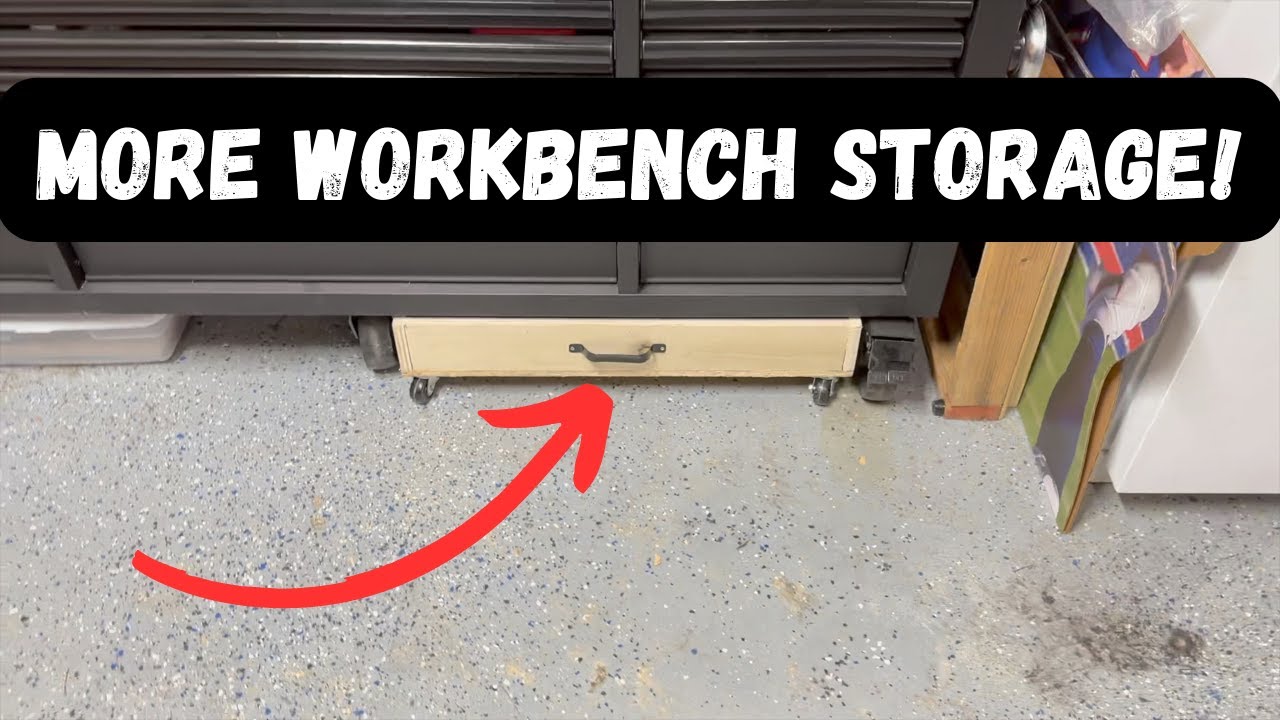
Dim drawers and dark undershelves slow you down. A simple LED strip and a barrel adapter can turn a Husky workbench or toolbox into a well-lit workspace.
What you’ll get:
- A quick wiring layout that avoids common shorts
- Soldering tips that actually help amateurs
- Placement advice for even light and clean routing
Tools & Materials
Plan the run before you cut
Measure the usable span, not the full 72 in. Account for bars and obstructions at both ends; aim for about 68 in of strip in two sections. Leave roughly 3 in from each edge so corner bumps don’t peel the strip. Bridge the two strips with an 18 in red/black pair to keep the wiring tidy across a 24 in depth.
Wire order that saves rework
Start at the power end. Tin the wire ends first, then test-fit and solder to the barrel adapter leads. Add the on/off switch in-line on the positive side where it’s easy to reach. Test after every step: adapter to switch, switch to first strip, then the bridge to the second strip. Catching issues early beats chasing a hidden short later.
Soldering that holds up
Use 60/40 leaded solder for forgiving flow, but keep fumes away and wash up after. Tin stranded wire, lay a small bead on the copper pad, then bring them together and let the joint cool undisturbed. Avoid bulky blobs—18 gauge can crowd small LED pads and cause shorts under heat shrink.
Avoid shorts and sag
Individually heat-shrink each conductor before any outer wrap so red and black can’t touch. If pads are tiny, consider stepping down from 18 gauge on the strip pigtails to reduce strain. Keep bends gentle around corners, and strain-relief the bridge wire so drawer movement or vibration doesn’t stress the joints.
Final takeaway: A measured layout, test-after-each-step workflow, and clean solder joints turn basic LED strips into reliable toolbox lighting. Keep wires separated and joints small, and your Husky bench will finally light the spots that matter.