All American 5005: Sharp Blades or Sharp Hype?
Sharpening mower blades at home sounds simple—until you chase the wrong angle and chew off too much steel. I tested a guided setup to see if it actually keeps first-timers on track.
What you’ll get:
- Real-world first-use takeaways
- Angle choice tips (30° vs 35°)
- Setup tricks for temporary mounts
- Balance check notes and when to stop
Tools & Materials
Disclosure: Some links may be affiliate links. I try to list tools and materials used or discussed in the project, with search links when an exact item is not available.
Setup that doesn’t eat your bench
If you’re not sharpening weekly, a scrap 2x4 plus lag bolts works. Mount the included 45° base plate to the sharpener, then pin your angle grinder to the guide so the arm swings smoothly without flex. Clamp the whole assembly so the grinder can contact the edge, then hang the tool at rest without binding. Temporary, rigid, and fast to store.
Practical tip: before power, dry-run the swing. If the arm snags or shifts, fix that now—binding makes heat and ugly facets.
30° vs 35°: match the existing bevel
Starting at 30° looked clean but barely touched the true cutting edge after several passes—likely because the original bevel wasn’t 30°. Switching to 35° immediately formed a defined edge with less material removal. Moral: chase the blade’s existing geometry, not a target on paper.
How to choose quickly:
- Mark the bevel with a Sharpie, set an angle, do one light pass. If the ink remains at the edge, your angle is too shallow. If it wipes at the edge evenly, you’re there.
- Don’t grind to ‘knife sharp.’ A modest, consistent edge lasts longer in grass.
Heat and passes: watch, don’t guess
Short, even strokes beat long, pressure-heavy grinds. If you feel heat building, pause. Uneven color or a blue tint means you lingered—lighten up and keep the arm motion consistent. The guided sled helps; you still control dwell time.
Warning: forcing 30° onto a blade cut at 35° wastes steel. If you need to reprofile, expect many passes—otherwise pivot to the closer angle.
Balance check: what ‘right’ looks like
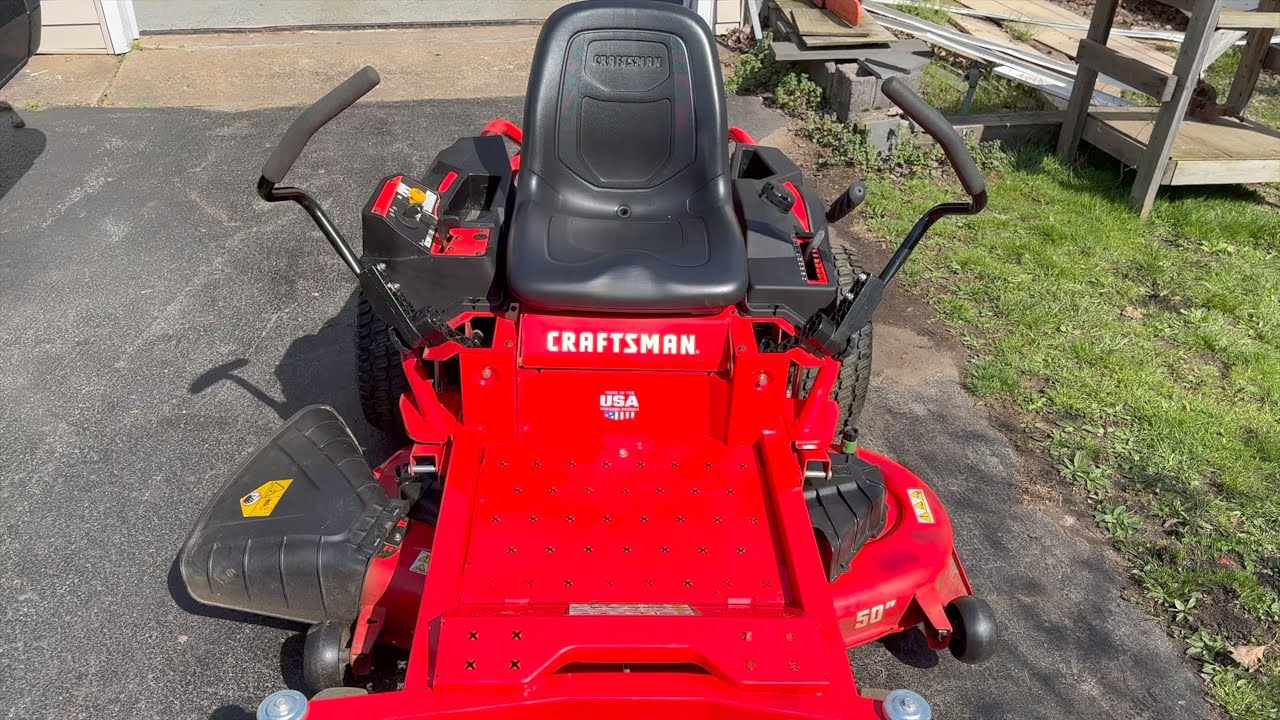
A simple cone-style balancer should sit level without one side sinking. Slight rocking is normal; repeatable tilt toward one end means remove a touch more from the heavier side. Balance all blades before reinstall, especially on zero-turn setups like the Craftsman Z550.
Final takeaway: The guided sharpener made first-time results repeatable, especially after switching to 35°. For single-blade homeowners, it’s a luxury; for multi-blade DIYers or anyone maintaining several sets, the control and speed are hard to beat.