Build a Clean, One-Switch Battery Charging Wall
If your chargers and packs live in a jumble of cords and cabinets, a dedicated charging wall keeps every ecosystem ready and visible.
What you’ll get: a tidy, one-switch charging station with hidden wiring and soft backlighting.
Tools & Materials
Plan the layout first
Dry-fit every charger on a painted 3/4 in plywood backer before drilling. Leave pull space for front-loading packs (like 40V) and a small expansion zone for future chargers. Put the outlet-side cords toward a single exit point so everything routes behind the board.
Stand-off frame = cable management + LEDs
Pin-nail and glue thin 1 in strips to the back to create a shallow perimeter frame. This gives you 2–2.5 in of clearance for wiring and a channel for LED tape. Mount the LED switch where you can reach it, then test lighting before final install.
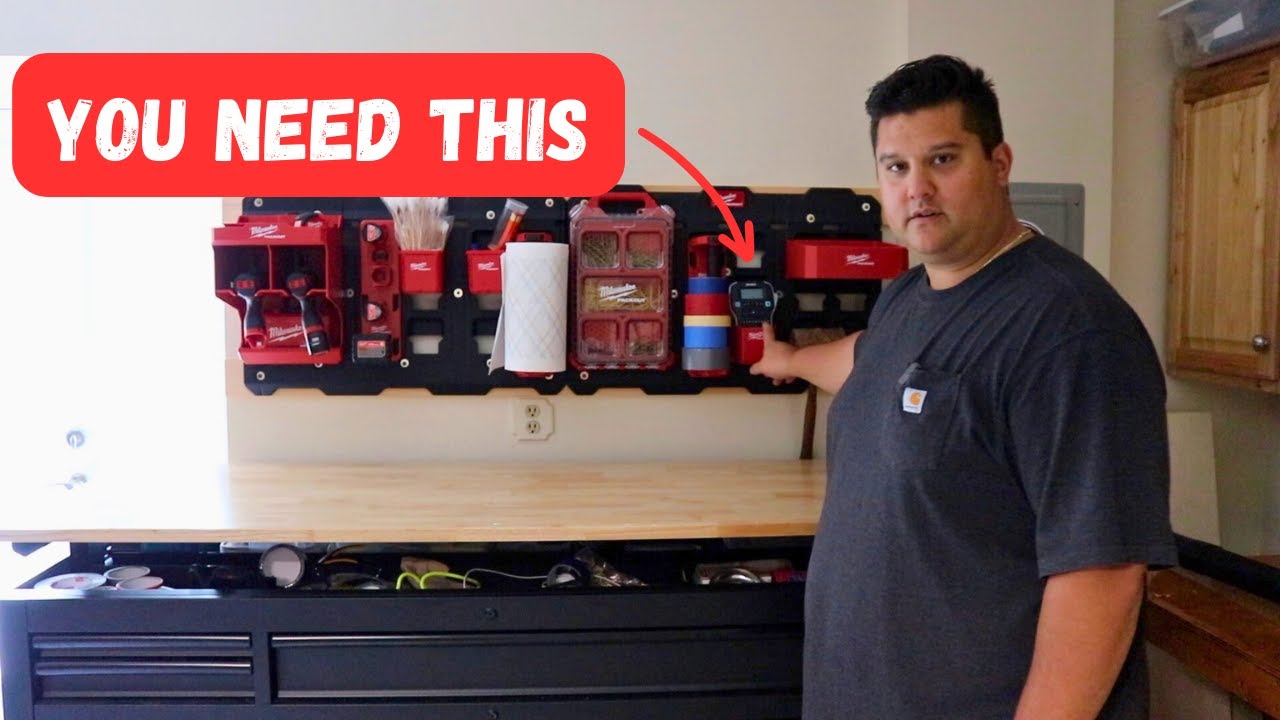
Mounting chargers the easy way
Use painter’s tape to transfer hole spacing: mark the holes on tape, stick it to the board, and drive your screws. Once mounted, chargers hold steady so batteries can be inserted and removed one-handed.
Clean wire pass-throughs and safe splices
Drill a single grommeted hole near the cord exit, then shorten each charger cord and pull it through to the back. Twist and solder or use solder-heat-shrink connectors, then sleeve with additional heat shrink for strain relief. Test each charger immediately after splicing. Note: some wires are color-coded; others can be distinguished by sheath texture—stay consistent.
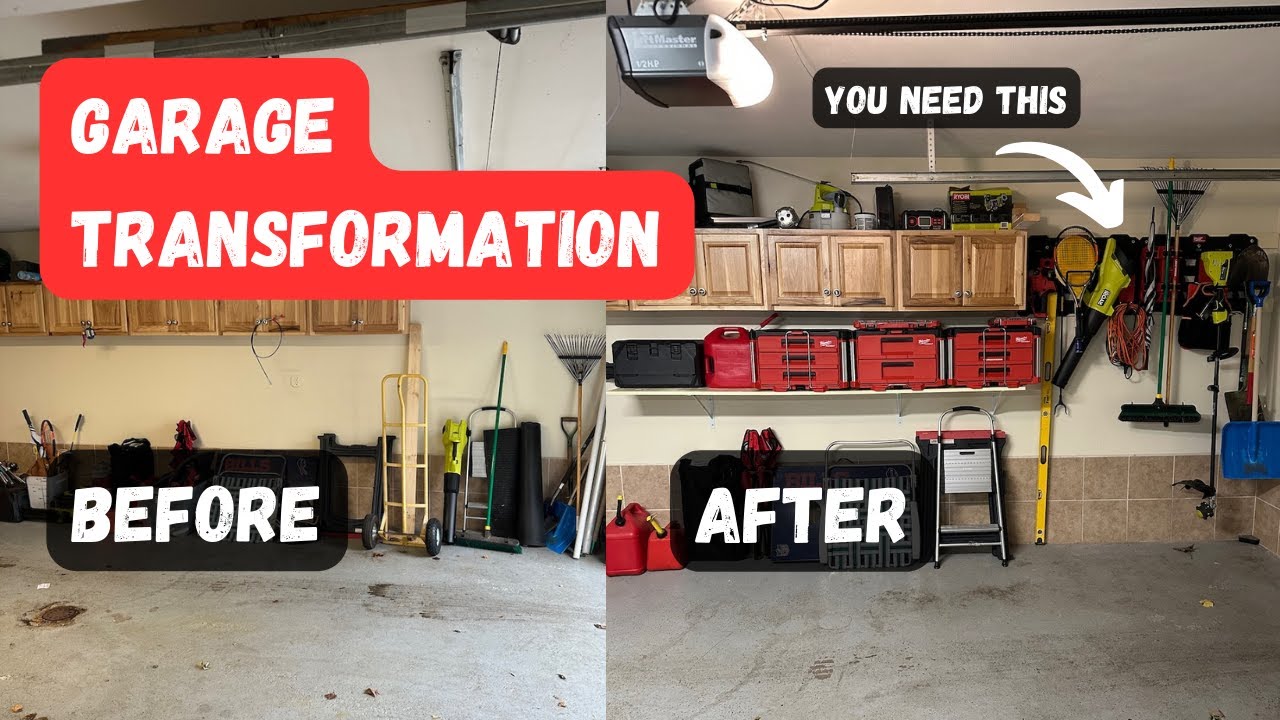
Final fit and wall install
Route loomed bundles along the stand-off channels and keep them lower than the frame so the panel sits flat. Pre-mark wall pilot locations relative to the outlet and studs, then drive mounting screws and hang the panel. Flip one switch, confirm charger lights, and dock a dead battery to verify charge.
The result is a compact, one-switch wall that tames four ecosystems into a single, reliable station. Build it once, and your charging chaos is over.