Build a Wooden Heart Wedding Guest Book (Pt. 1)
A TikTok-inspired wedding guest book that you can actually hang at home? Let’s build the wooden heart drop-box style frame and dial in the hearts so guests can sign with room to spare.
What you’ll get: the core concept, size trade-offs, paint tests that worked (and didn’t), and clean-trim acrylic tips.
Plan the build: three parts
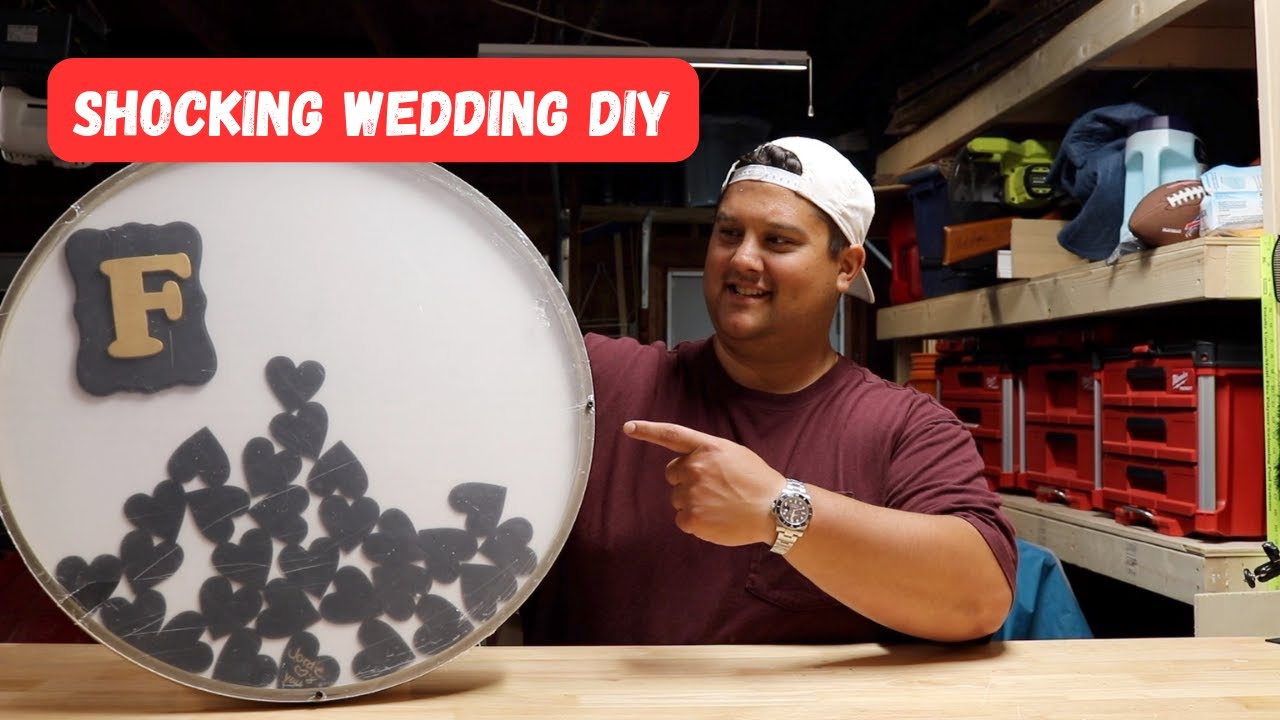
This design breaks down into the base, a customizable center piece, and the hearts. The base is a plywood backer with an acrylic front and a spacer in between so hearts “Plinko” down. A pre-cut round from a craft store can save time cutting perfect circles.
Watch the gap between acrylic and backer. If it’s too deep, hearts stack multiple layers and signatures get hidden. Aim for a gap that fits one to two hearts max to keep names visible.
Heart size vs. capacity
Two-inch hearts pack more pieces but leave tight writing space. 2.65-inch hearts are easier to sign but reduce capacity. Estimate how many guests will actually sign and back-calculate the layout. Expect a trade-off: readability vs. total count.
Mock it up on scrap with both sizes to visualize spacing before committing.
Paint tests: what stuck and what didn’t
Tempera paint did not adhere well to sanded plywood in this test—skip that combo. For the look, contrasting backgrounds (white or black) with neutral heart colors keep it wedding-ready without drifting into Valentine’s vibes.
Write sample names on painted hearts to confirm legibility before painting batches. Test pens/markers on each color so you’re confident about contrast under acrylic.
Clean acrylic cuts and flush trim
Rough cut the acrylic so it overhangs the base by about an inch. Secure it, then use a flush trim bit on a router to follow the base and achieve a clean edge. Clamp twice and move steadily; minor wander can be hand-sanded.
Route acrylic outside if possible—the chips are messy. Clear your workspace between passes to avoid scratches.
Tools & Materials
Next steps for part 2
- Add/adjust the spacer to set the correct heart gap.
- Finalize heart size and background color after legibility tests.
- Assemble and test the heart drop path before sealing it up.
Final takeaway: Keep the gap tight, confirm legibility with real samples, and use a flush trim bit for a crisp acrylic edge. Part 2 will bring it all together for the finished guest book.