One Simple Trick to Tame Your Plier Drawer
Messy plier drawers waste time and hide the tools you actually use. A simple rack can turn that chaos into a clean, grab-and-go layout.
What you’ll get:
- A quick drawer reset using dedicated plier racks
- Tips to sort keepers vs. cast-offs
- Setup notes from using two racks together
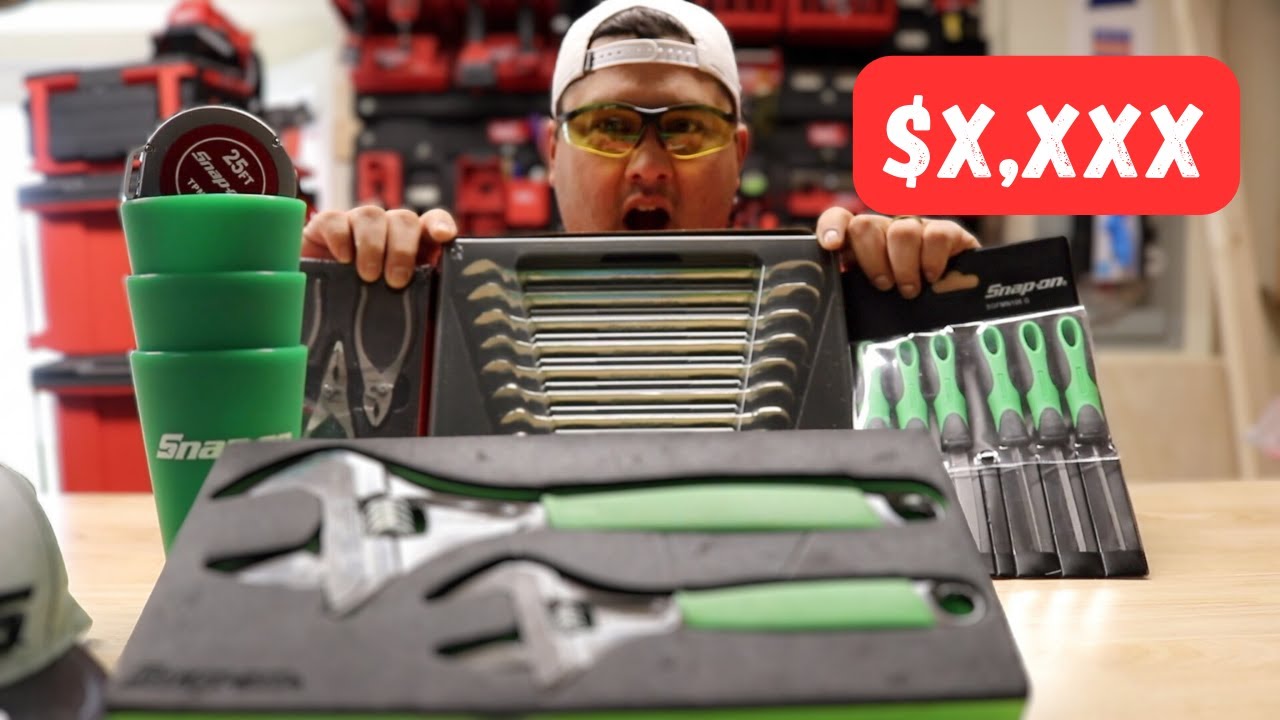
Tools & Materials
The core move: dedicated plier racks
Two Ernst plier Pro organizers let you stage a full drawer in tidy rows. Each rack holds 10 pliers, so doubling up handles a typical mix without stacking or tangling. Spacing the racks side-by-side creates clear lanes and makes it obvious when a tool is missing.
Sort with intent: keep, move, or ditch
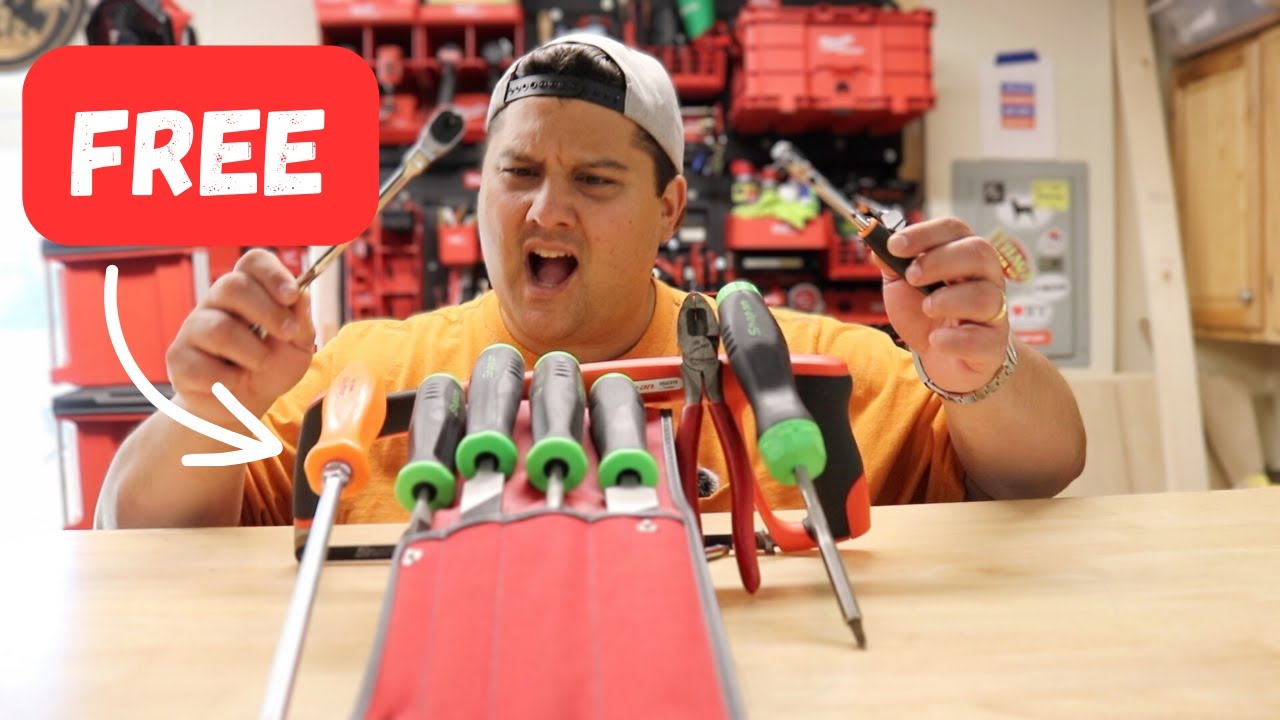
Park your daily drivers and specialty pieces on the racks first. New and frequently used tools earn the best spots up front. Move duplicates to a tool bag if they serve a specific kit. Anything rusted or low-quality (like the Pittsburgh pieces here) should be cleaned, reassigned, or tossed.
Group by task, not brand
Cluster by function so your hand knows where to go: cutting, gripping, needle nose, strippers, and specialty (like push pin pliers). This beats color or brand sorting when you’re mid-project. Keep strippers and needle nose near the front edge for common reach-ins.
Leave room for growth
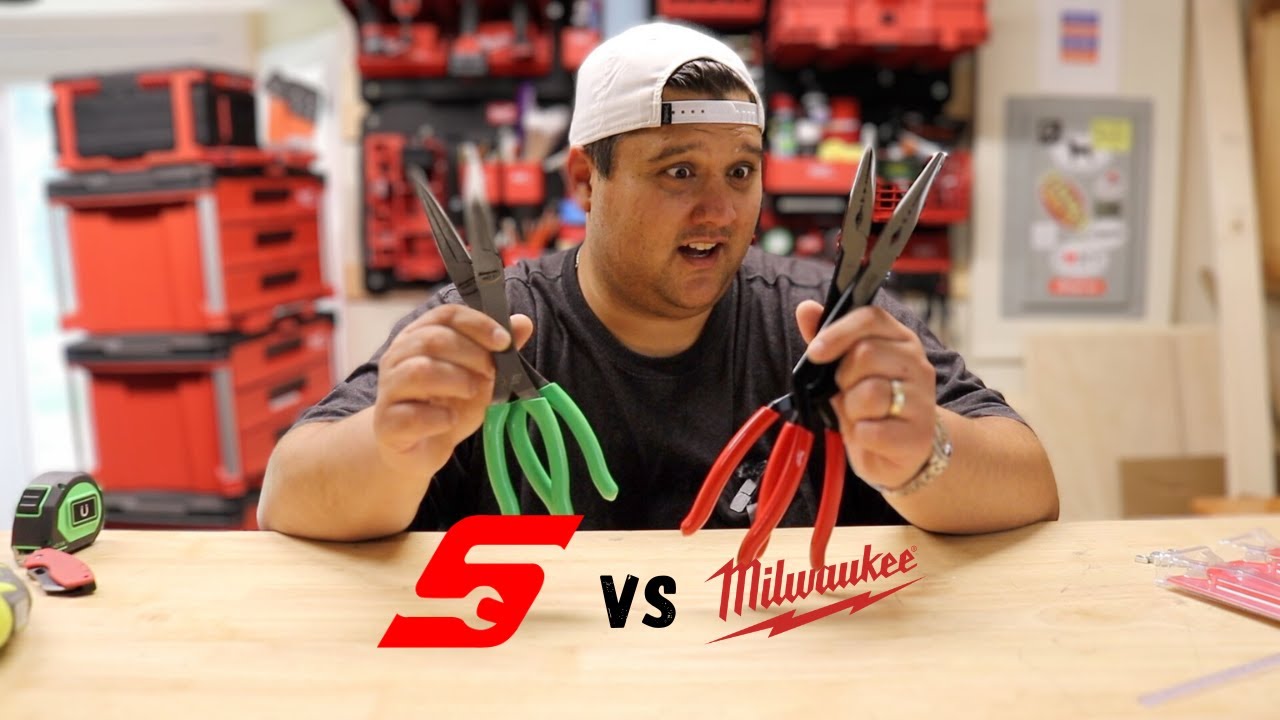
If you’ve got recent additions (like new Snap-on or Milwaukee, and Knipex you haven’t used yet), reserve a couple slots. Empty slots prevent crowding and keep upgrades from breaking your layout.
Quick setup checklist
- Load two racks side-by-side, front-to-back aligned.
- Place most-used pliers in the first row, specialty in the second.
- Label rows or snap a drawer photo to lock in muscle memory.
- Sweep out the drawer; grit under racks makes them skate.
A simple pair of plier racks can transform a junk drawer into a reliable system. Start with the tools you actually use, give them a defined slot, and let the rest go.