Smarter Milwaukee Packout Wall Expansion
A single Packout wall feels great—until your drills, tapes, and bins start stacking up. Here’s how to expand cleanly without tearing everything down.
What you’ll get: a simple layout plan, spacing math, mounting tips, and what to keep high vs low.
Tools & Materials
Plan the add-on row
- Keep what you access most at chest level: tapes, small parts, and bins.
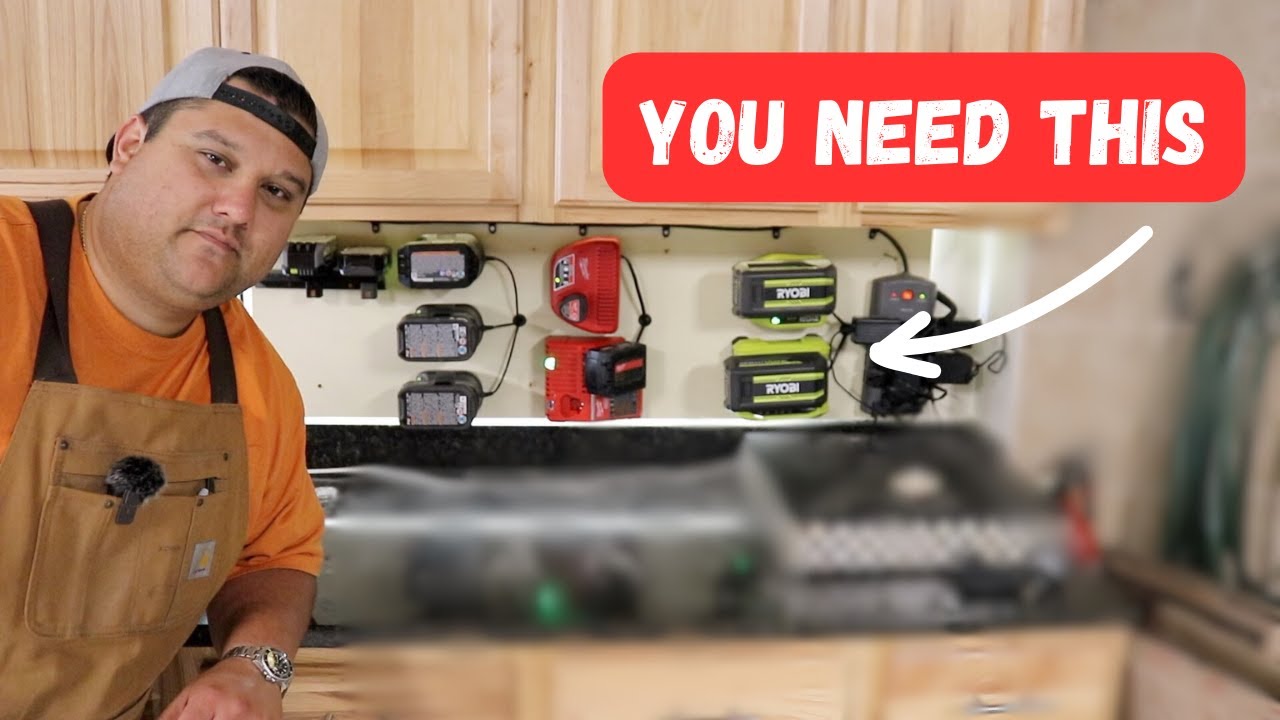
- Store drill holders and paper towel racks higher—easy to grab, rarely reorganized.
- If a bench sits in front of the wall, treat the top row as storage, not daily-access.
Measure once, subtract once
- Reuse your original spacing as a baseline. Example used: 19 3/4 in for row-to-row.
- Subtract the material thickness of any new backer to keep plate spacing consistent (example: 19 3/4 minus 5/8).
- Mark stud lines before the plates go up so you’re not drilling blind through hardware.
Mounting on boards vs plywood
- Plywood makes future expansion easier, but 1x boards are fine for incremental add-ons.
- Pre-mark studs, drill pilots sized just under your screw’s core, and switch to a T25 driver before driving fasteners.
- Cabinet screws (example used: GRK #8, 1 1/4 in) worked here; lag screws are commonly recommended but may not fit every install method. Prioritize secure fastening into studs.
Modularity is the point
- Remove existing pieces to get working room; the system’s quick-off plates make layout changes painless.
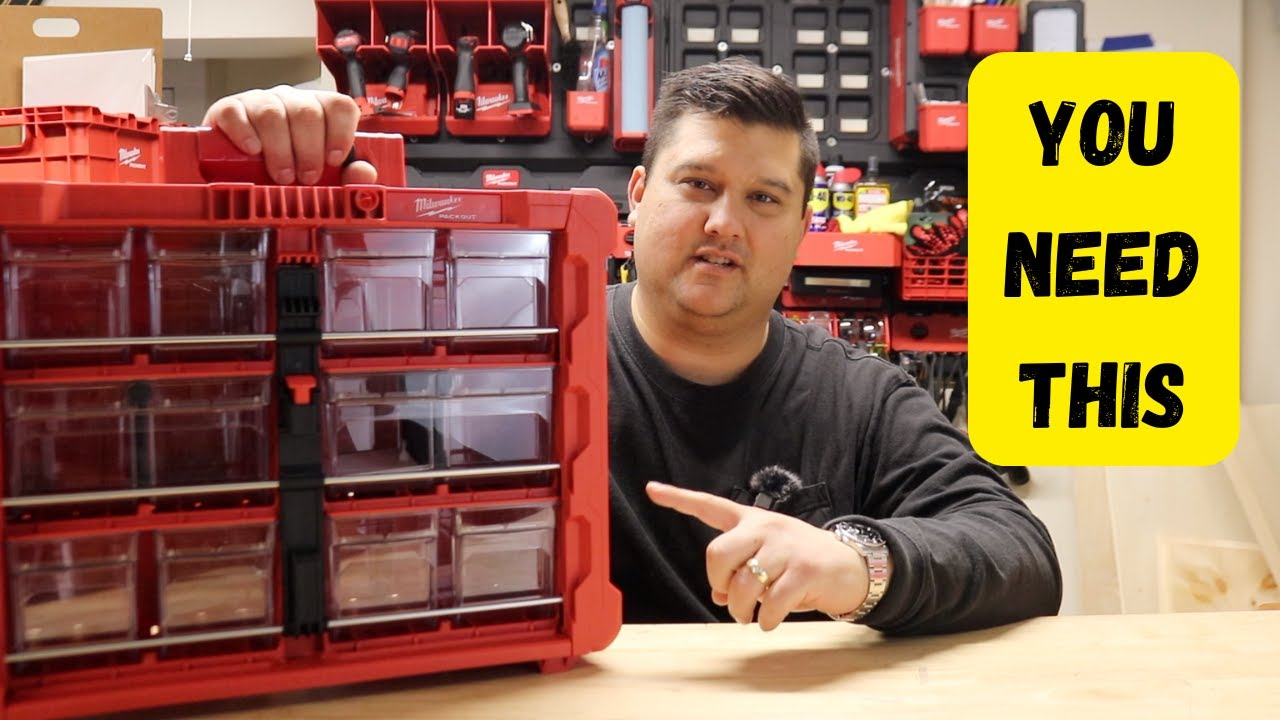
- Add exactly what you’ll use: compact wall basket, tool holder, screwdriver holder, M18 battery pack holder, and plenty of mini bins for markers, pencils, and cotton swabs.
- Leave room to expand vertically; you can sacrifice the very top for seldom-used items.
Final takeaway: Start with one extra row, place daily-use items low, and let the modular plates evolve with you. Expand only after living with the setup for a bit—your wall will tell you what’s next.